

Jim Krause | Classes | P351 Video Field & Post Production
P351 Week 6 - Lighting (cont.) & Art Videos
Agenda & Announcements:
- Lighting lab this week. We'll watch some News/Feature Stories & carry out the lighting exercise.
Readings/Watchlist:
- 'Grip It Good': A Short Film about Grips, the Unsung Heroes of the Film Industry by Mark Varga
- Upstage Lighting Technique Explained
- Jim's Interview Interview/Documentary Tips
- Arri Lighting Handbook
Lighting
Interview examples from Spirit of Brown County on WTIU
Share techniques with lighting for portraiture, fashion, painting.
Unlike the flash and strobe photography used for still photography, video requires "constant on" lighting.
Lighting can be thought of in terms of
- Quality (coherence) - Hard vs. Soft
- Color (color temperature)
- Intensity (brightness)
Quality (coherence)
Lighting instruments can be broken down into two major types: spotlights and floodlights. In general, spotlights produce focused beams of light (hard light) whereas floodlights create softer, more diffused light.
Hard light vs soft light
- Hard lighting creates sharply defined shadows and brings out texture
- Soft lighting minimizes shadows and details.
For most interview setups, soft lighting produces more pleasing results than hard lighting.
Spotlights
Spotlights generally produce harder, or more focused light than floodlights. There are three basic types: Fresnel, Ellipsoidal, & Open faced.
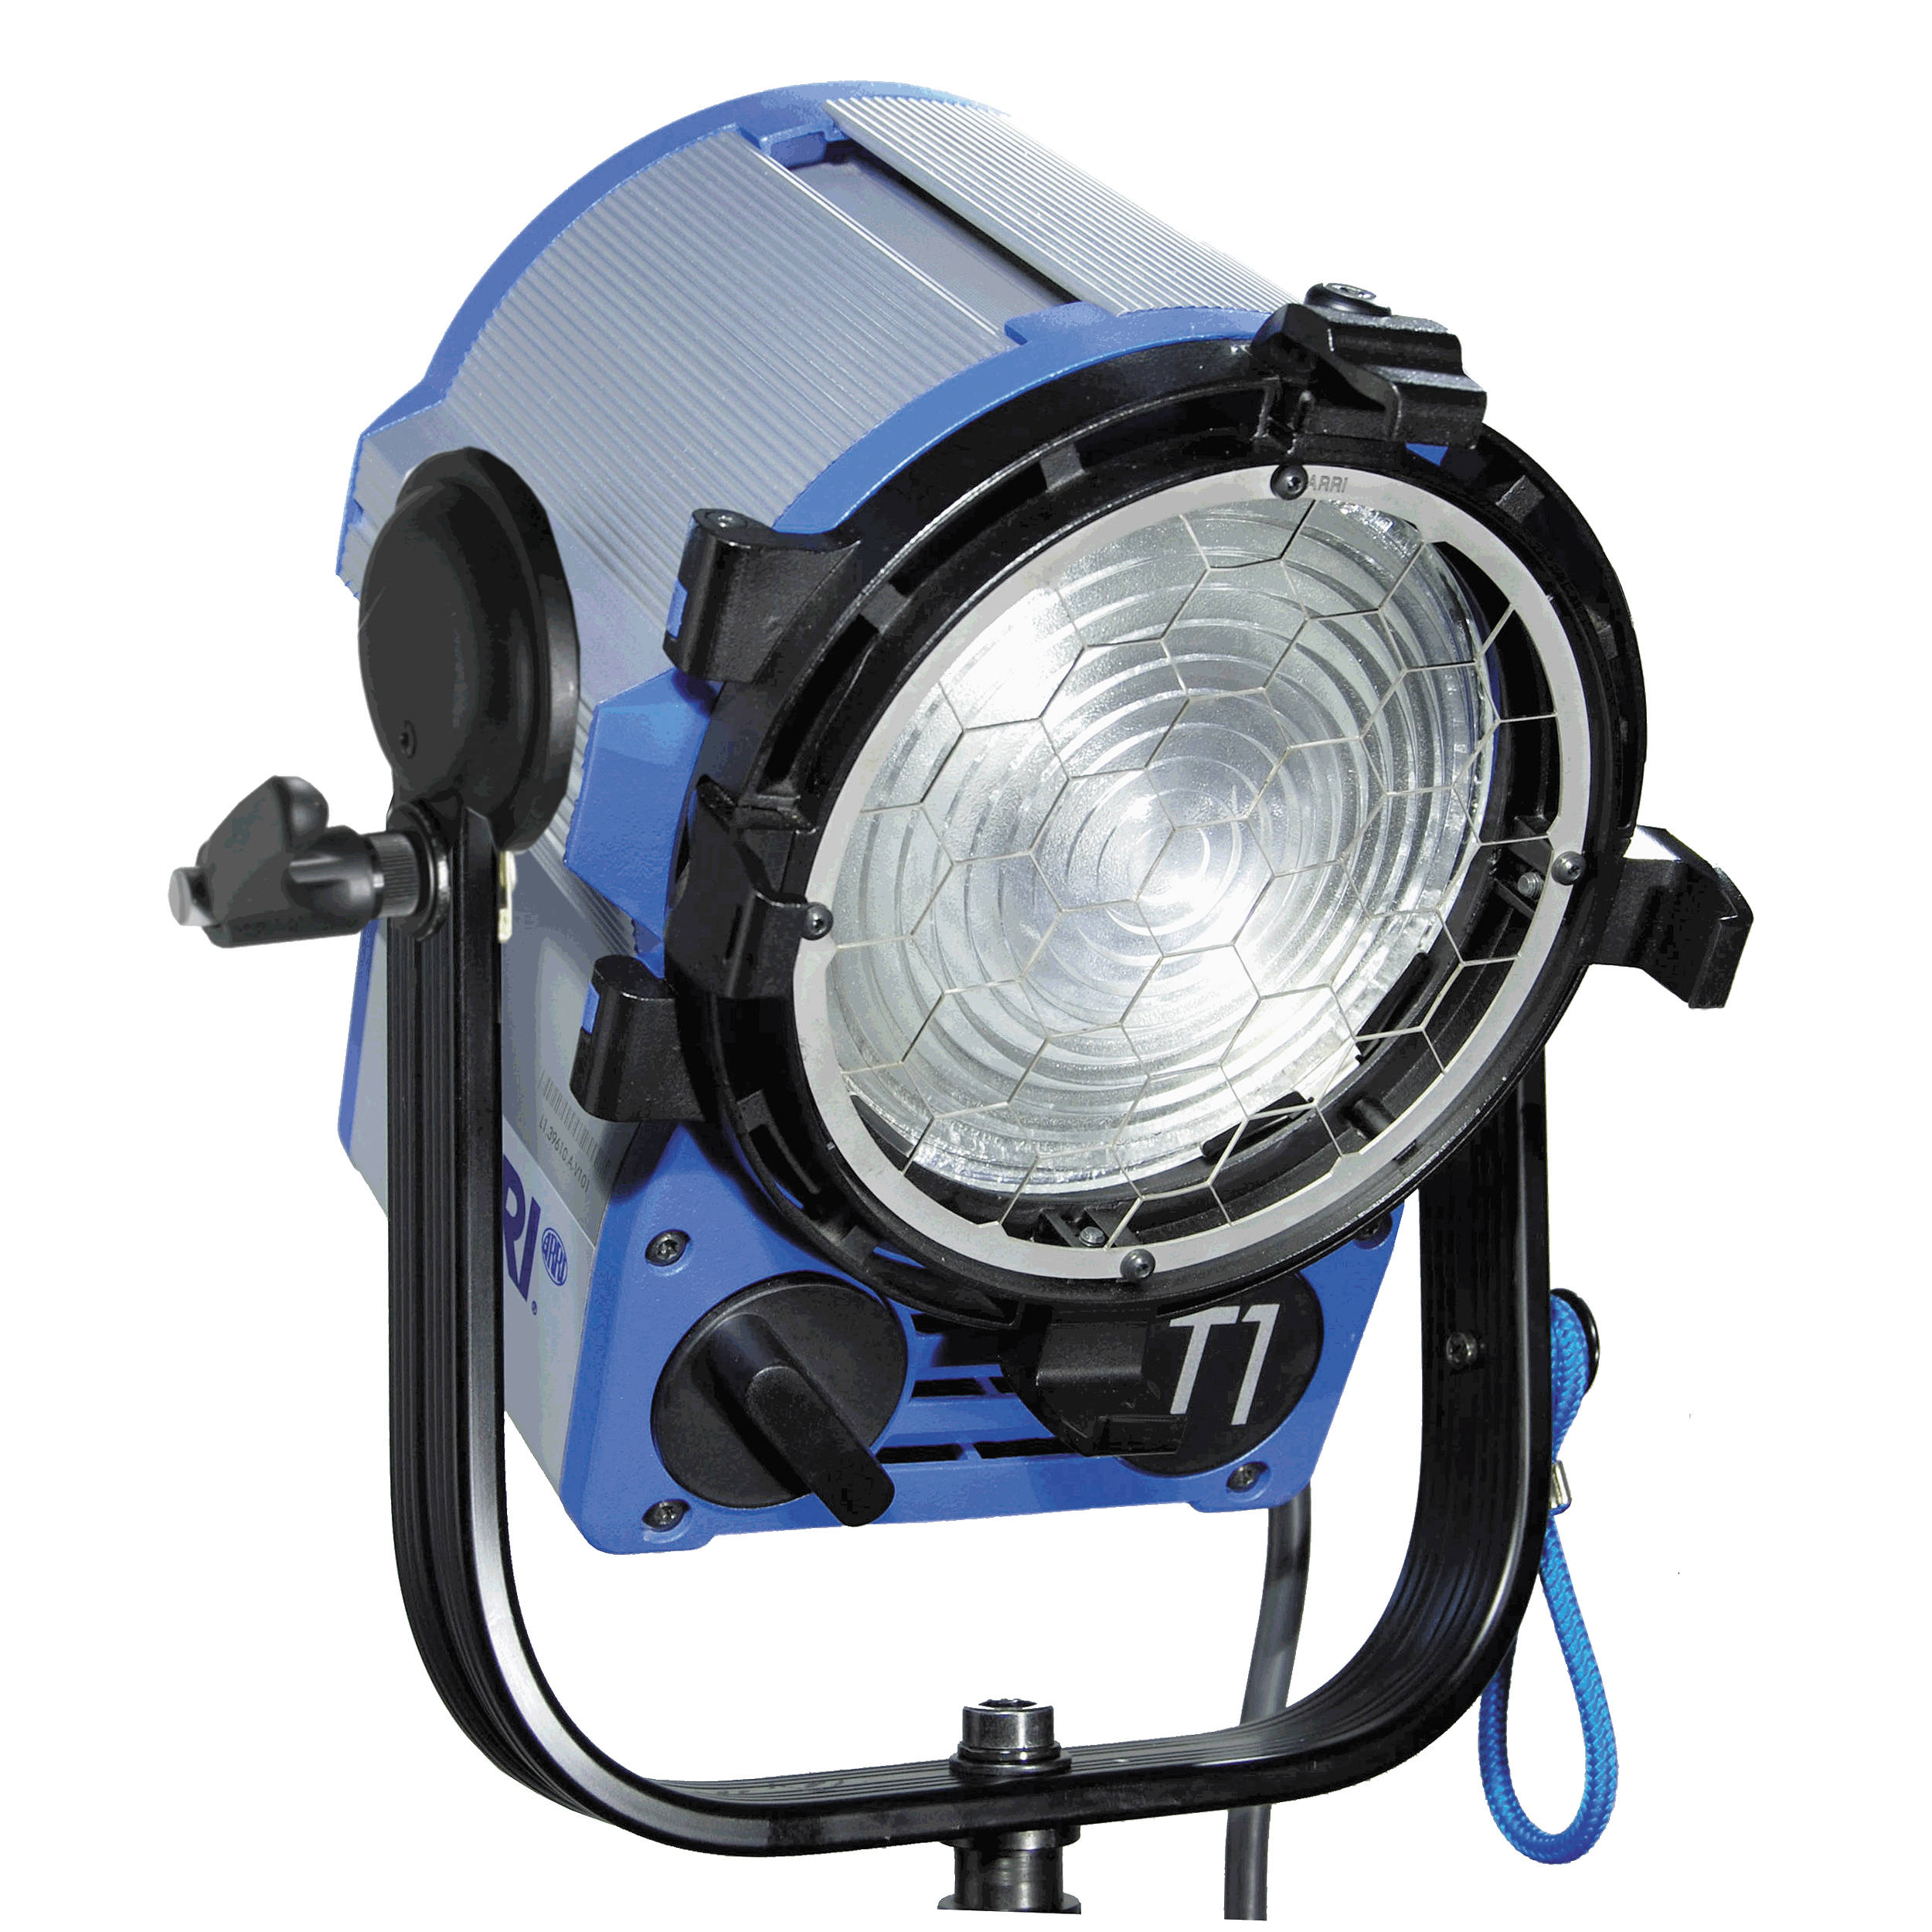
Fresnel - usually ranked by wattage of lamp. Fresnel spotlights use fresnel lenses- these glass lenses have an easily indentifiable series of coencentric rings cut into them to focus the light.
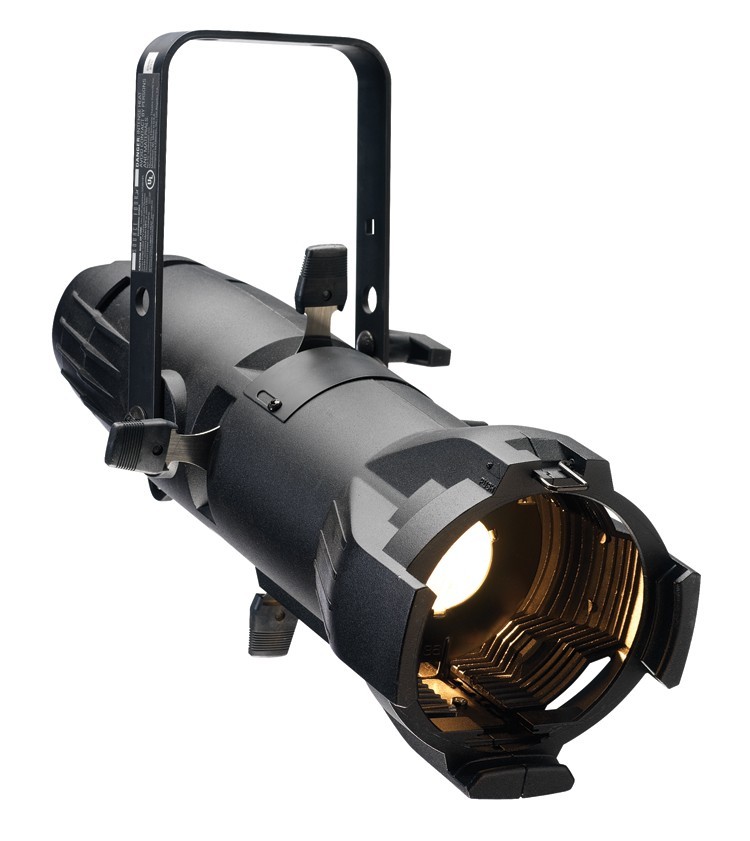
Ellipsoidal - much more directional/focusable than typical fresnel spotlights. While they can be used in field production, they are more commonly found in TV studios and theatres, Examples include:
- Pattern projectors
- Follow spots
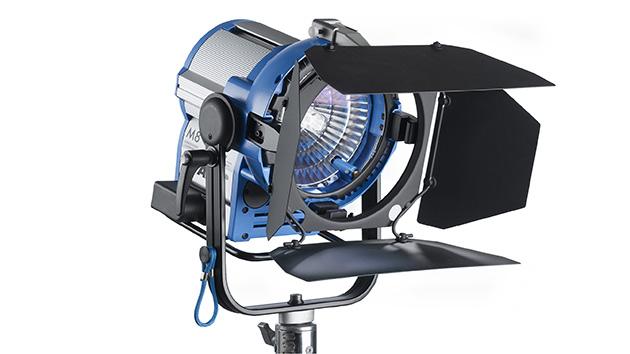
Open faced - In open faced lighting instruments, the lamp is housed in front of a reflector, but there is no lens to focus the light. The Arri 750 light that we have in our kits is good examples of open faced spotlights. Lighting people directly with open faced lamps usually looks terrible. Open faced lights are good to use with a softbox, umbrella, or diffuser.
Floodlights
Floodlights generally produce softer light than spotlights. Examples include:
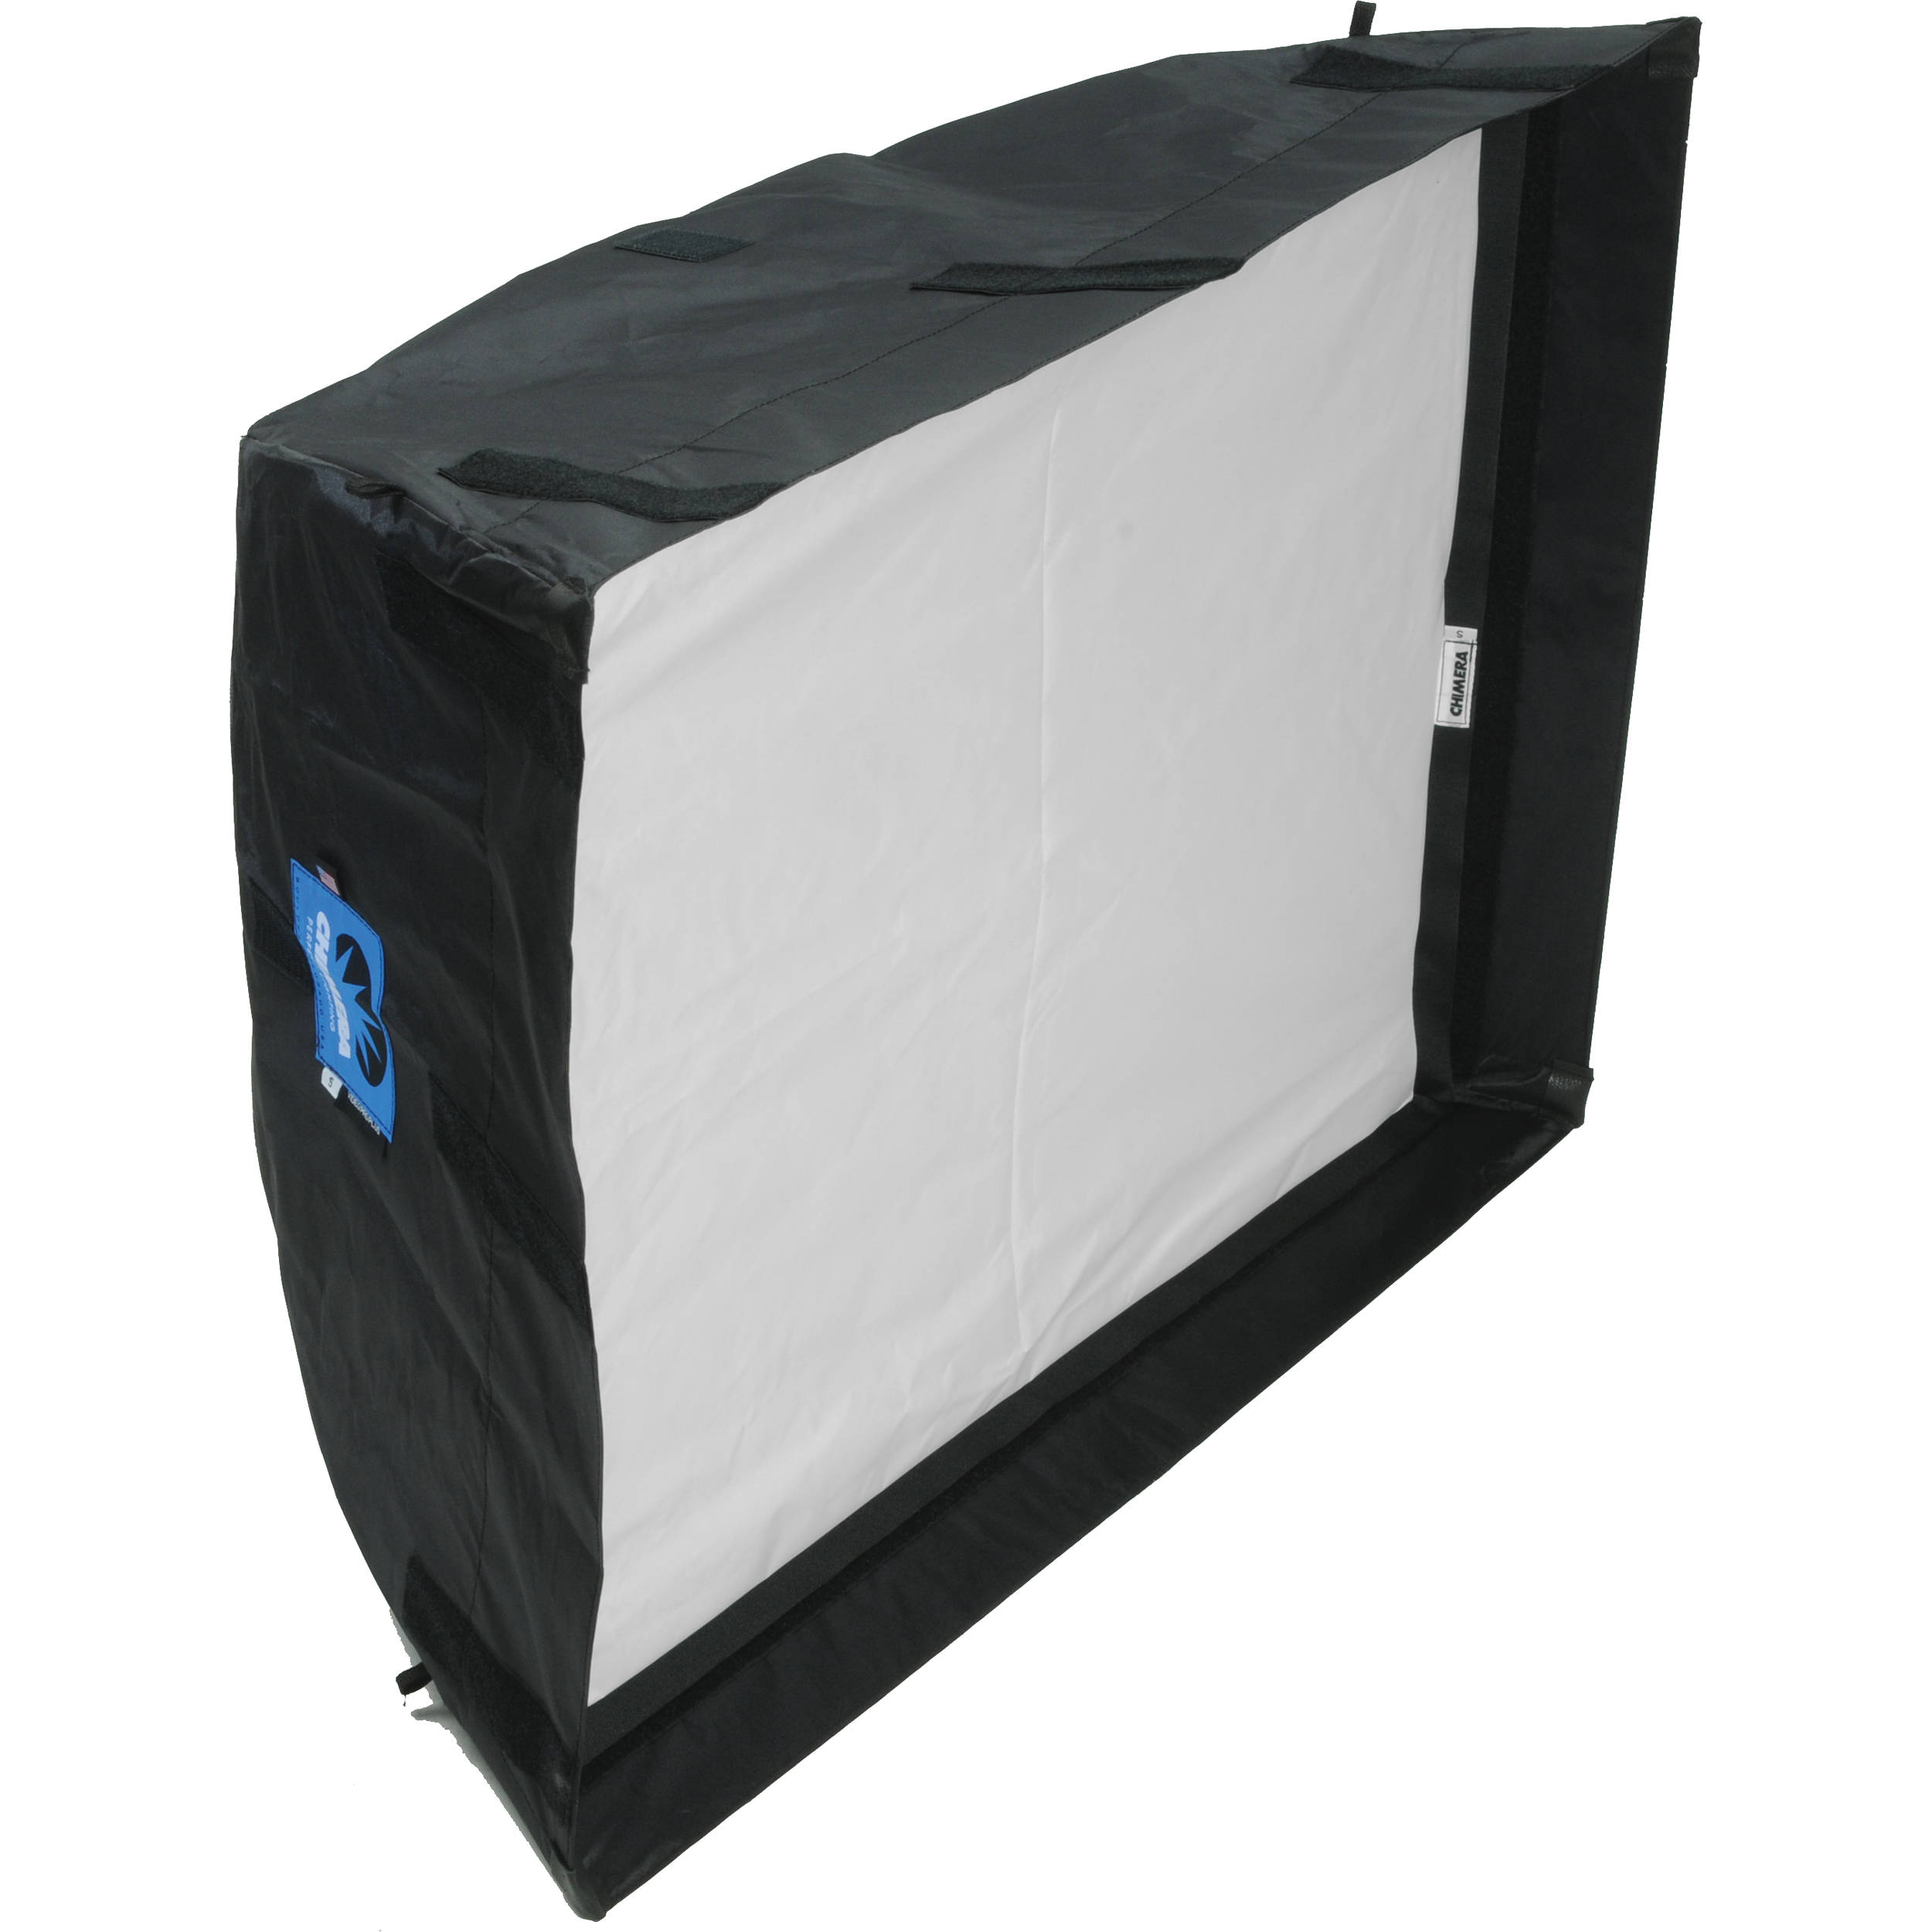
Chimera 36x48 softbox
- Softlights/softboxes: (Jim's favorite key light!) Chimera makes many different sizes and shapes. Many softboxes mount over a spotlight (turning it into a soft light). The quality of light is excellent, however they are large and cumbersome.

Kino-Flo Broad Light
- Broad light: These are commonly used in TV studios to light areas. Grids and barn doors can be added to control lighting spill.
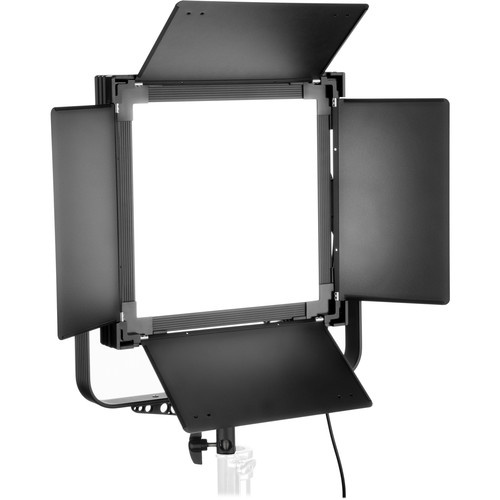
Genaray 12 x 12 Square Sun
- Fluorescent & LED light bank: Provide similar light to a softbox, but with LEDs or flourescent bulbs. Physically, they are shallow (only 6 inches deep or so) so can be placed in tight locations.
Types of lamps (what actually lights up):
- Incandescent: These are similar to the historic, screw-in (edison) bulbs often seen in homes. They become redder with age. They are larger than quartz bulbs.
- Quartz or Tungsten Halogen: encased in a quartz bulb with halogen gas. Smaller & retains its color temp. Don’t touch fresh bulbs with bare fingers. It will leave oil on the surface, reducing the life span.
- LED - Light Emitting Diodes are popular due to their small size, variable color temperature, low power consumption, and long life.
- Fluorescent: can be almost any color temp (kinda sorta). Consumer bulbs have uneven color values and often can appear a little green. They can work well when mixed with other light.Professional bulbs (Kino-Flo) work very well.
- HMIs: Hydrargyrum Medium Arc. It's difficult to say so people call them HMIs. HMIs are more expensive than typical spotlights and are used for outdoor lighting. Sometimes called sun guns, they have the same color temp as the sun. (around 5600 Kelvin).
Color temperature
We measure color temperature on the Kelvin scale.
Indoor vs. outdoors (approximate/average color temps)
- 3200 Kelvin - average indoor color temp
- 5600 Kelvin - average outdoor color temp
The outdoor color temperature varies throughout day. If you want to capture warmer (redder) colors at "golden hour" (sunrise/sunset) use the outdoor preset.
We can vary the color temperature with gels. Gels are useful to add an artistic look/dash of color and to correct.
Two "correction" gels are:
- CTO (Color Temperature Orange) This brings 5600° down to 3200°
- CTB (Color Temperature Blue) This brings 3200° up to 5600°.
So if we wanted to shoot in an office with windows but at an indoor color temp, we could place CTO on the windows. Alternatively if you were shooting outside but needed a little fill from a tungsten/halogen light- you could use a CTB on the light.
Intensity - We measure intensity in lux, lumens, or foot-candles. While lighting instruments are often described by the amount of electrical watts they require, this is not a good way to think about intensity. LED, flourescent, and tungsten lamps all have different outputs and use varying amounts of watts.
Lighting Triangle review:
- Key -Primary light source. It illuminates the subject
- Fill - Reduces and fills in shadows created by the key. Reduces falloff.
- Back -helps separate the subject from the background, creates a figure-ground relationship.
and in film/video production we often add a 4th element:
- Background/Set - Lights setting/location. Sets mood and locale of scene.
Lighting Control
You can control lighting parameters:
- Quality (hard or soft)
- Color temperature (lamp choice & gels)
- Intensity controls (brightness)
- Area/Directional Control (What area you are lighting)
It's important to be able to control one parameter without affecting another. For instance we might want to adjust intensity without affecting quality. Say we want to light our subject with hard light, but just need to reduce the output. We shouldn't use a diffuser as it would change the light from hard to soft. So as you choose a method to control or shape the light, be aware of how it affects the other parameters.
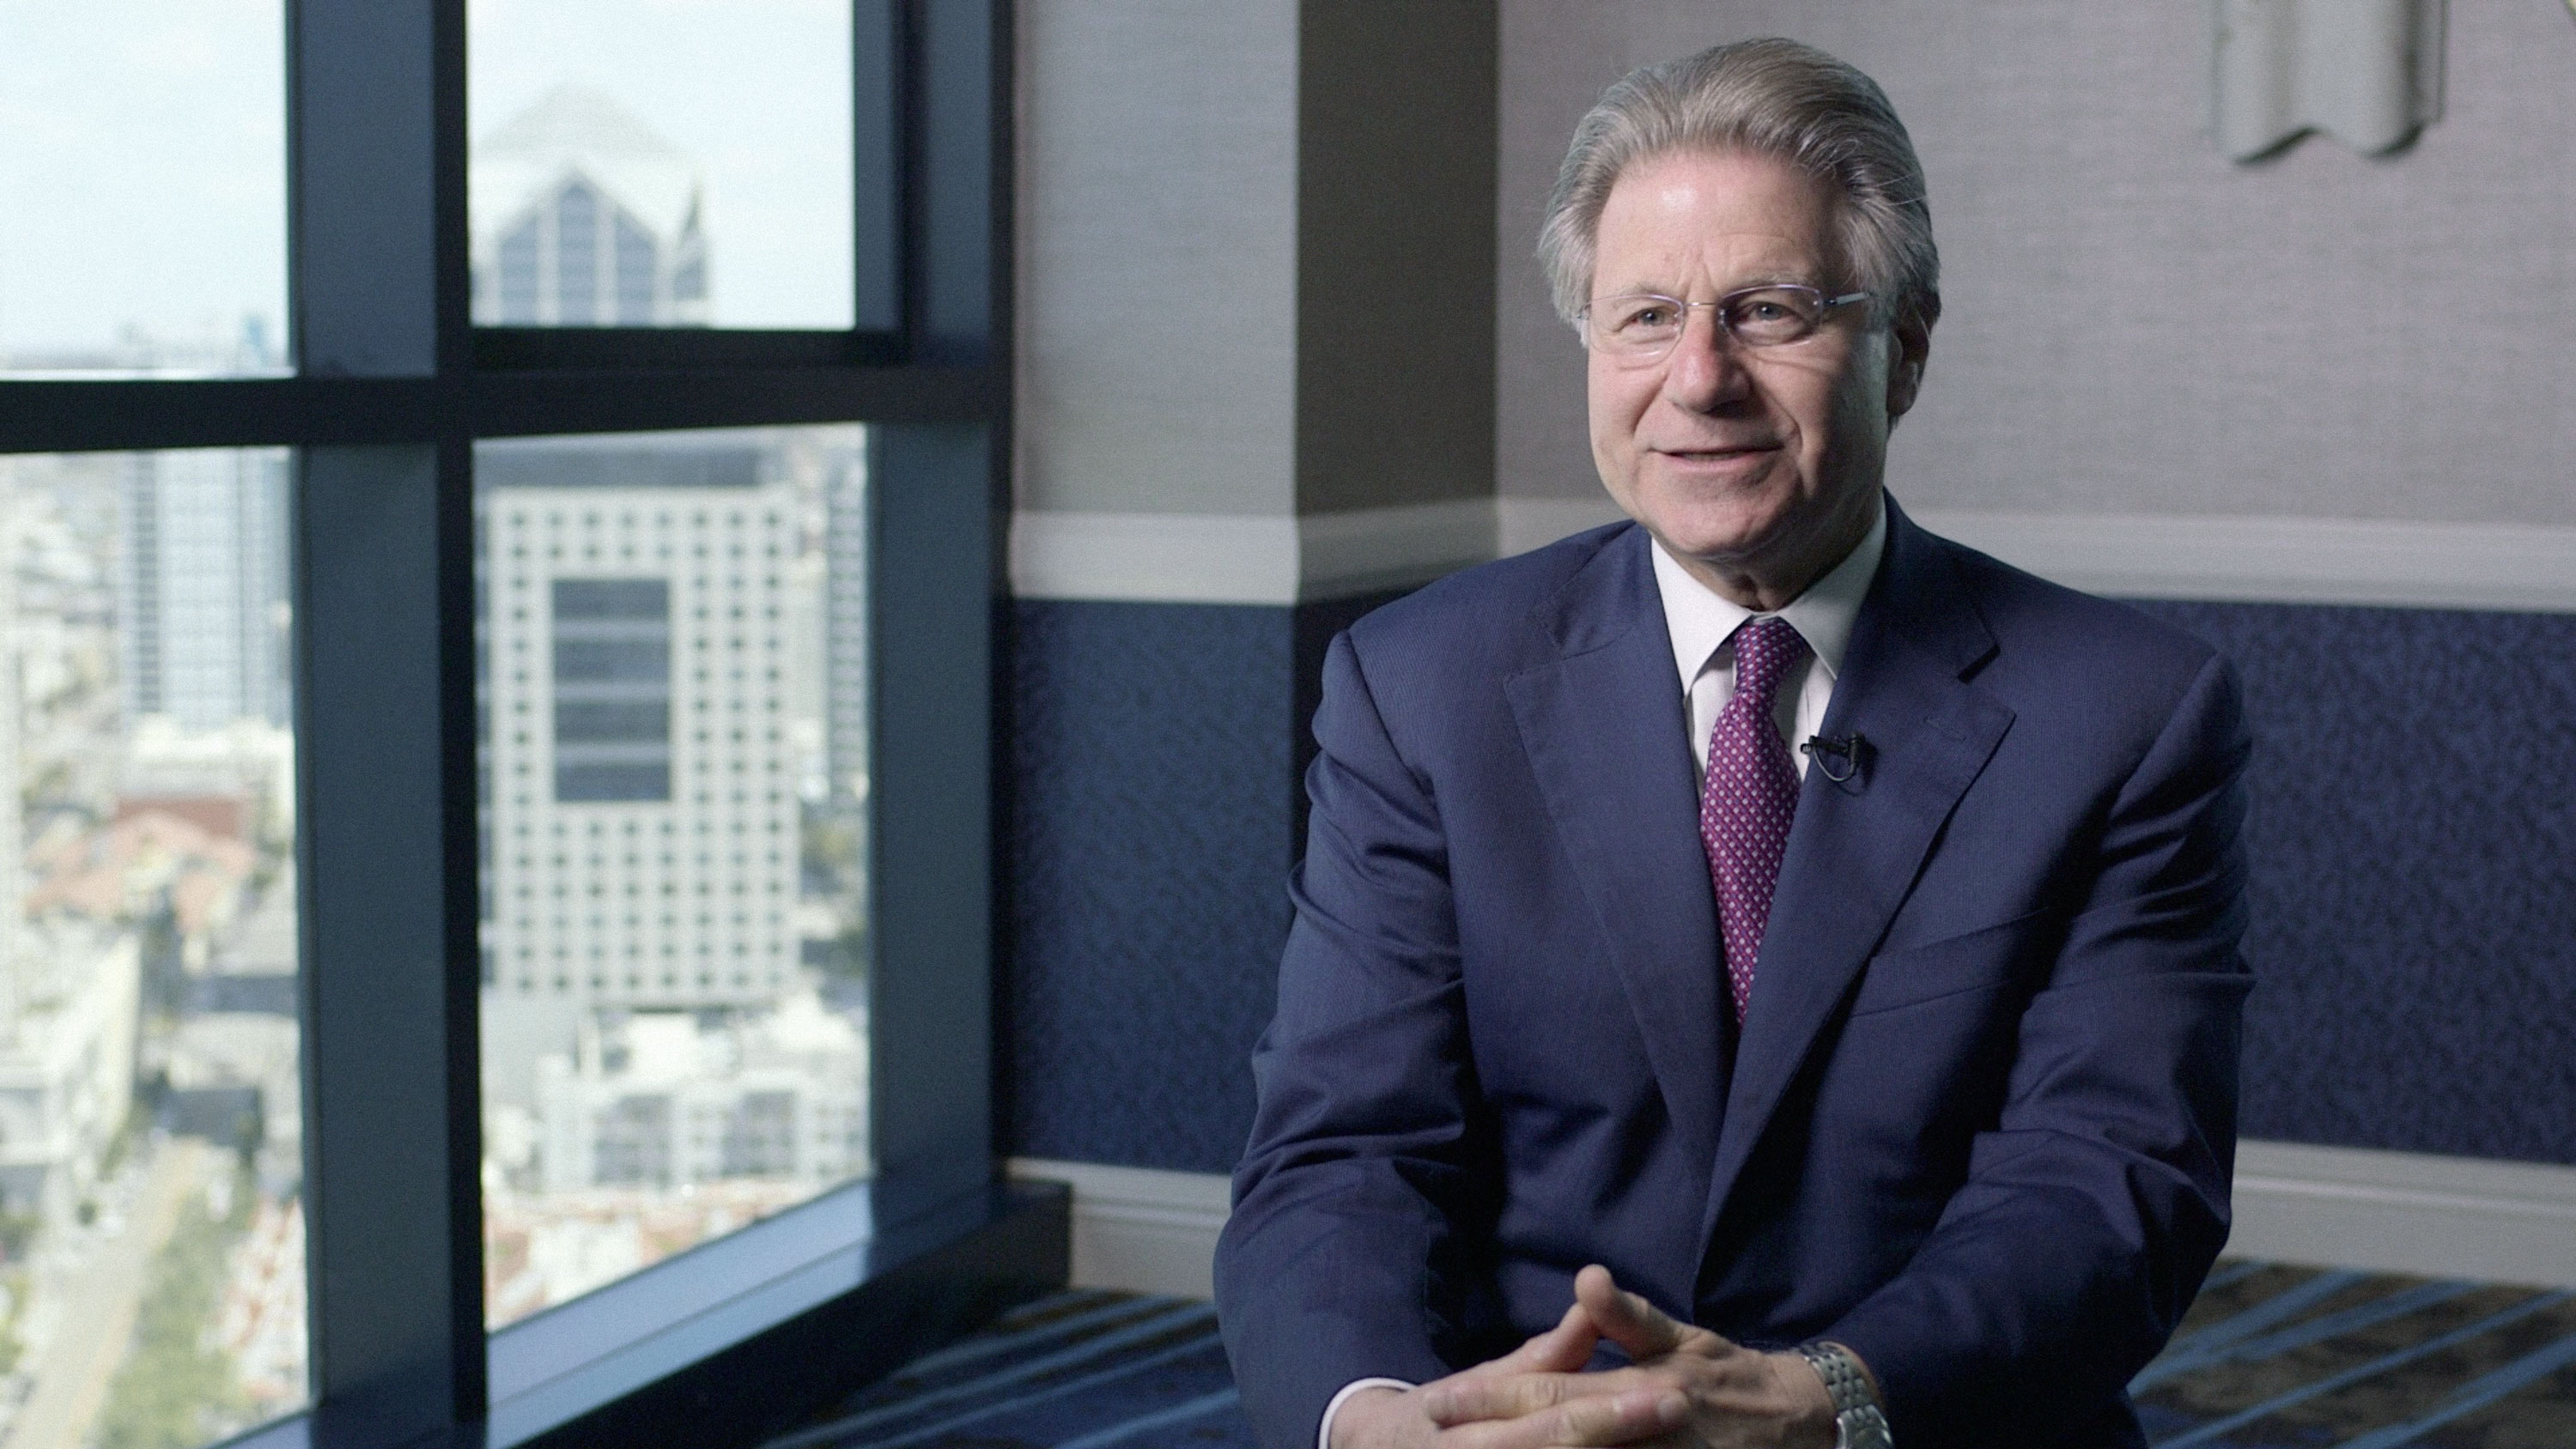
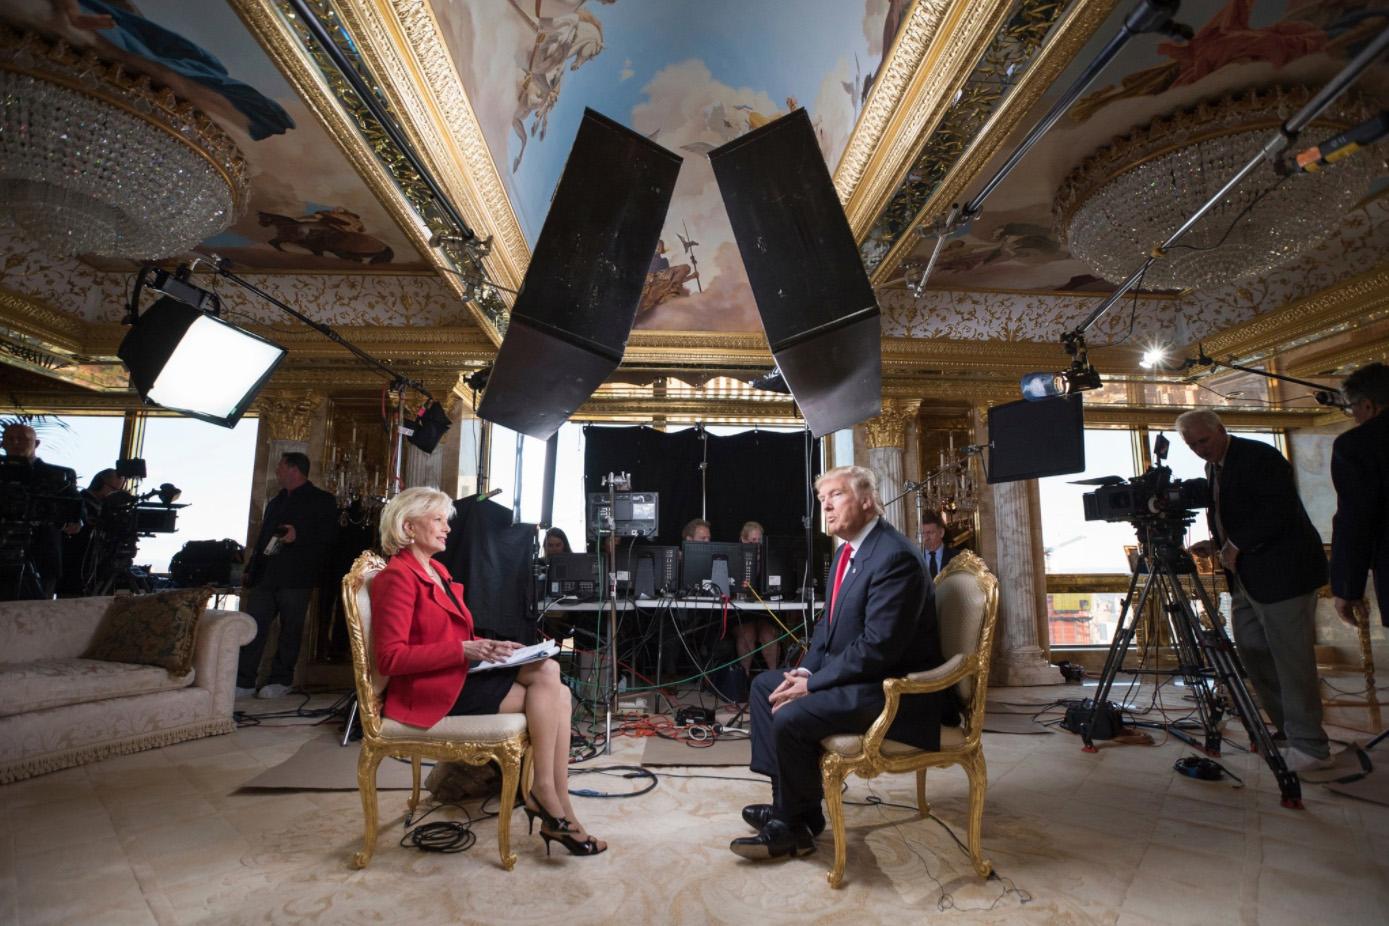
Tips & Techniques for Framing & Lighting Interviews
Scout a location in advance of your interview. Ideally you want a space that ties in with the subject or focus of the project (music studio, gym, bike shop, etc.). This is what some refer to as an environmental portrait. Make sure the space is available the time you need to shoot your interview. (Schedule it in advance)
Make sure it's large enough for ighting gear .You should be in control of the lighting. It's often necessary to shut off lights and noise making devices (like air conditioners) for the duration of the recording.
The most common noob mistake is shooting in too small a room and placing subjects against a wall.
Frame first- before you light.
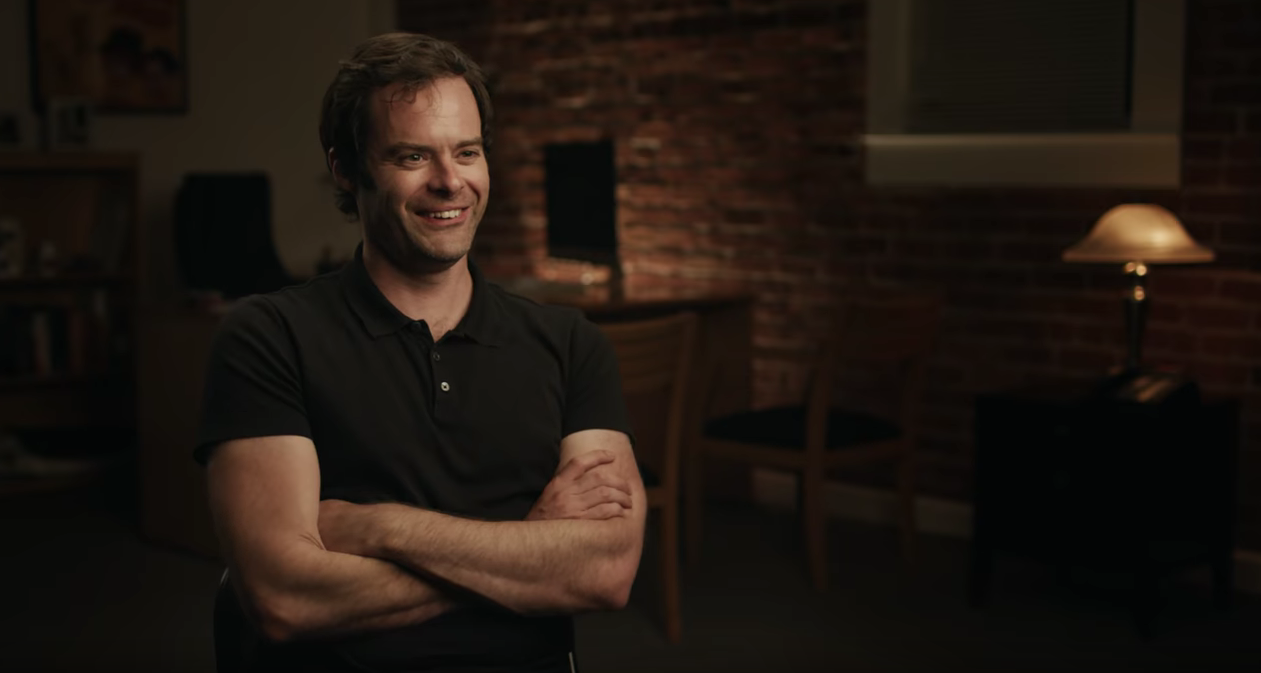
Try to place your subject away from any wall or background-. The more separation you have between your subject and the background, the easier it will be to light and bring out your subject.
It's also good to be able to place your camera a distance from the subject so you can use a longer focal length, and minimize the apparent depth of field (throw the background elements slightly out of focus).
Fine tune your composition. You might need to raise or lower the camera. Remember the rule of thirds. Position your subject so their eyes are on either the top left or top right grid intersection. An object of interest or splash of light should balance the frame on the opposite side.
Once your subject is framed, add lighting
Key light - For shooting most interviews, soft lighting (E.g., from a softbox or light panel) typically produces more pleasing results than hard lighting. Avoid using open face lights for key lights- they look harsh and are not flattering. A fresnel can give pleasing results. An umbrella can as well but it spills light everywhere. I usually start by placing the key light a little higher that the camera/interviewer. If your subject is wearing glasses you may have to position the key light higher than normal to reduce the reflection. Be sure you can see both of the subject's eyes. Is there a little reflection in the eyes? If so your light is in a good position.
Fill - A reflector works fine for fill and is easily controllable. You can easily adjust the amount of fill by placement of the reflector and whether you use the white or silver side.
Back light - A little back light goes a long way. I find I'm always using both gels and diffusion to make it look right. (Try turning off your key light to focus and set your backlight.) This is a good light to use colored gels on.
Set light - Highlighting a special something in the background will add the finishing touch. This is also a good place to use colored gels. Try to throw the background out of focus a little by using a small f-stop.
Look at problematic lighting scenarios and how to solve.
- Mixed lighting (outdoor and indoor) Try to avoid mixing different light sources/color temperatures and work with the dominant light source. If you're inside, but shooting in a sunroom, you'll need to go 5600 K.
Here are some lovely examples:
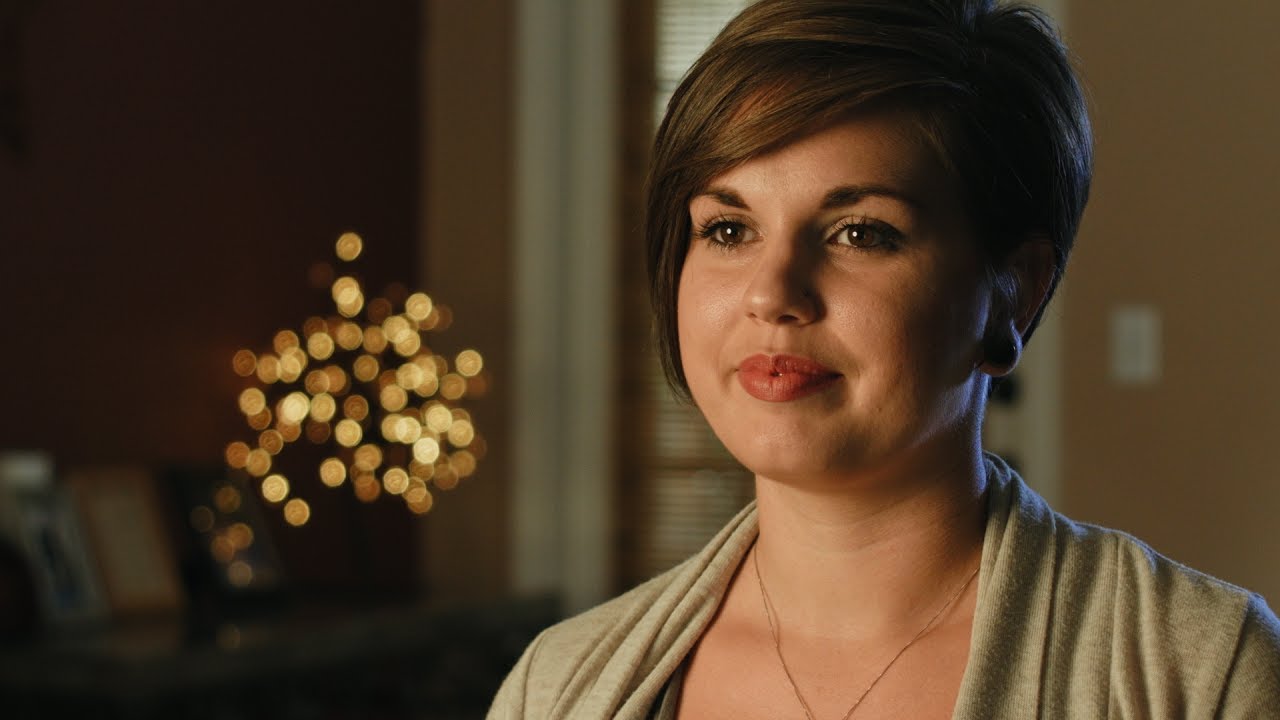
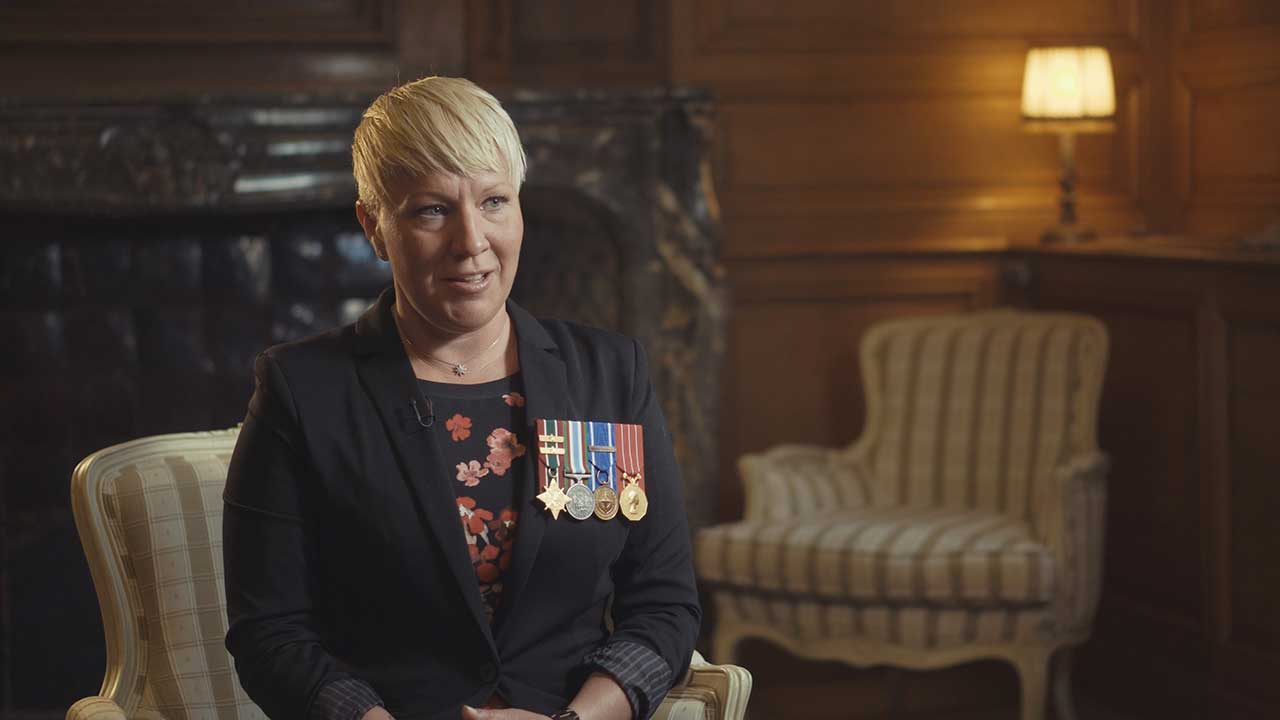
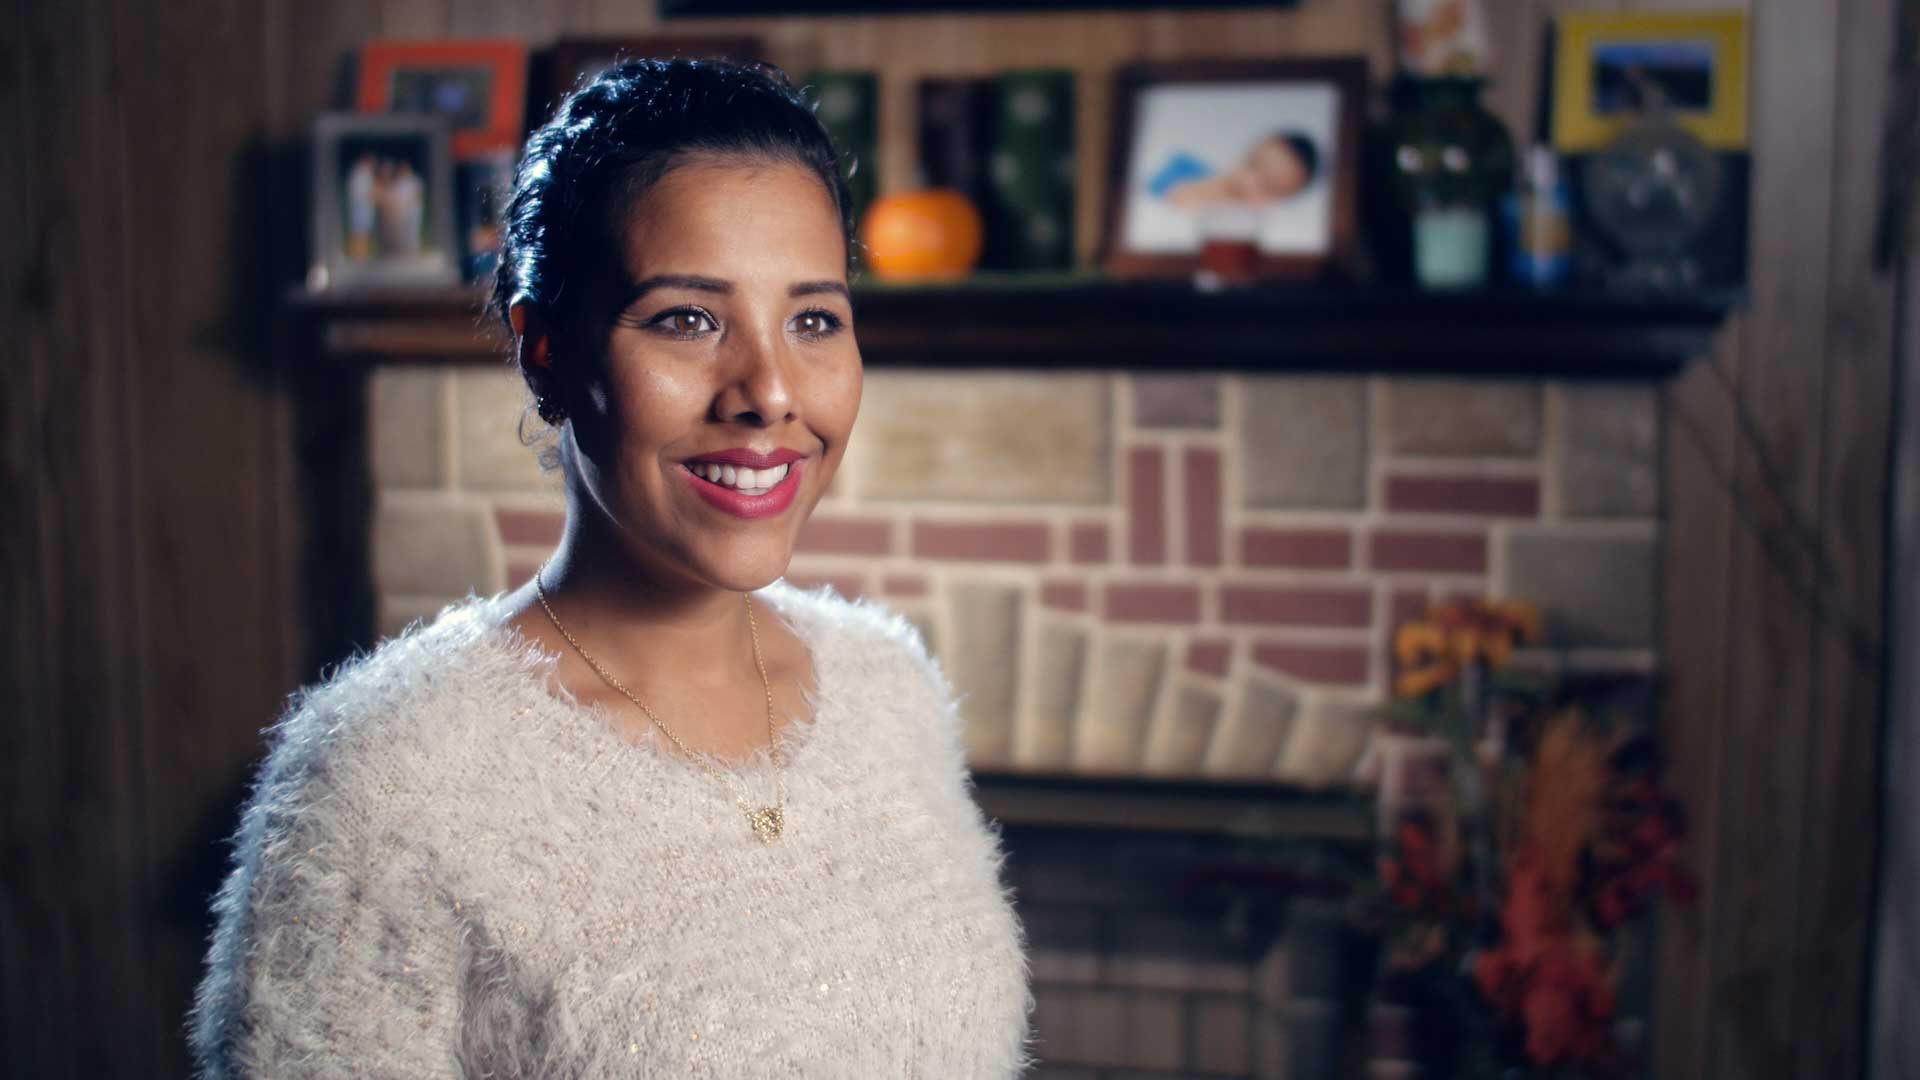
Placing the keylight: Broad (downstage) vs Narrow (upstage) lighting
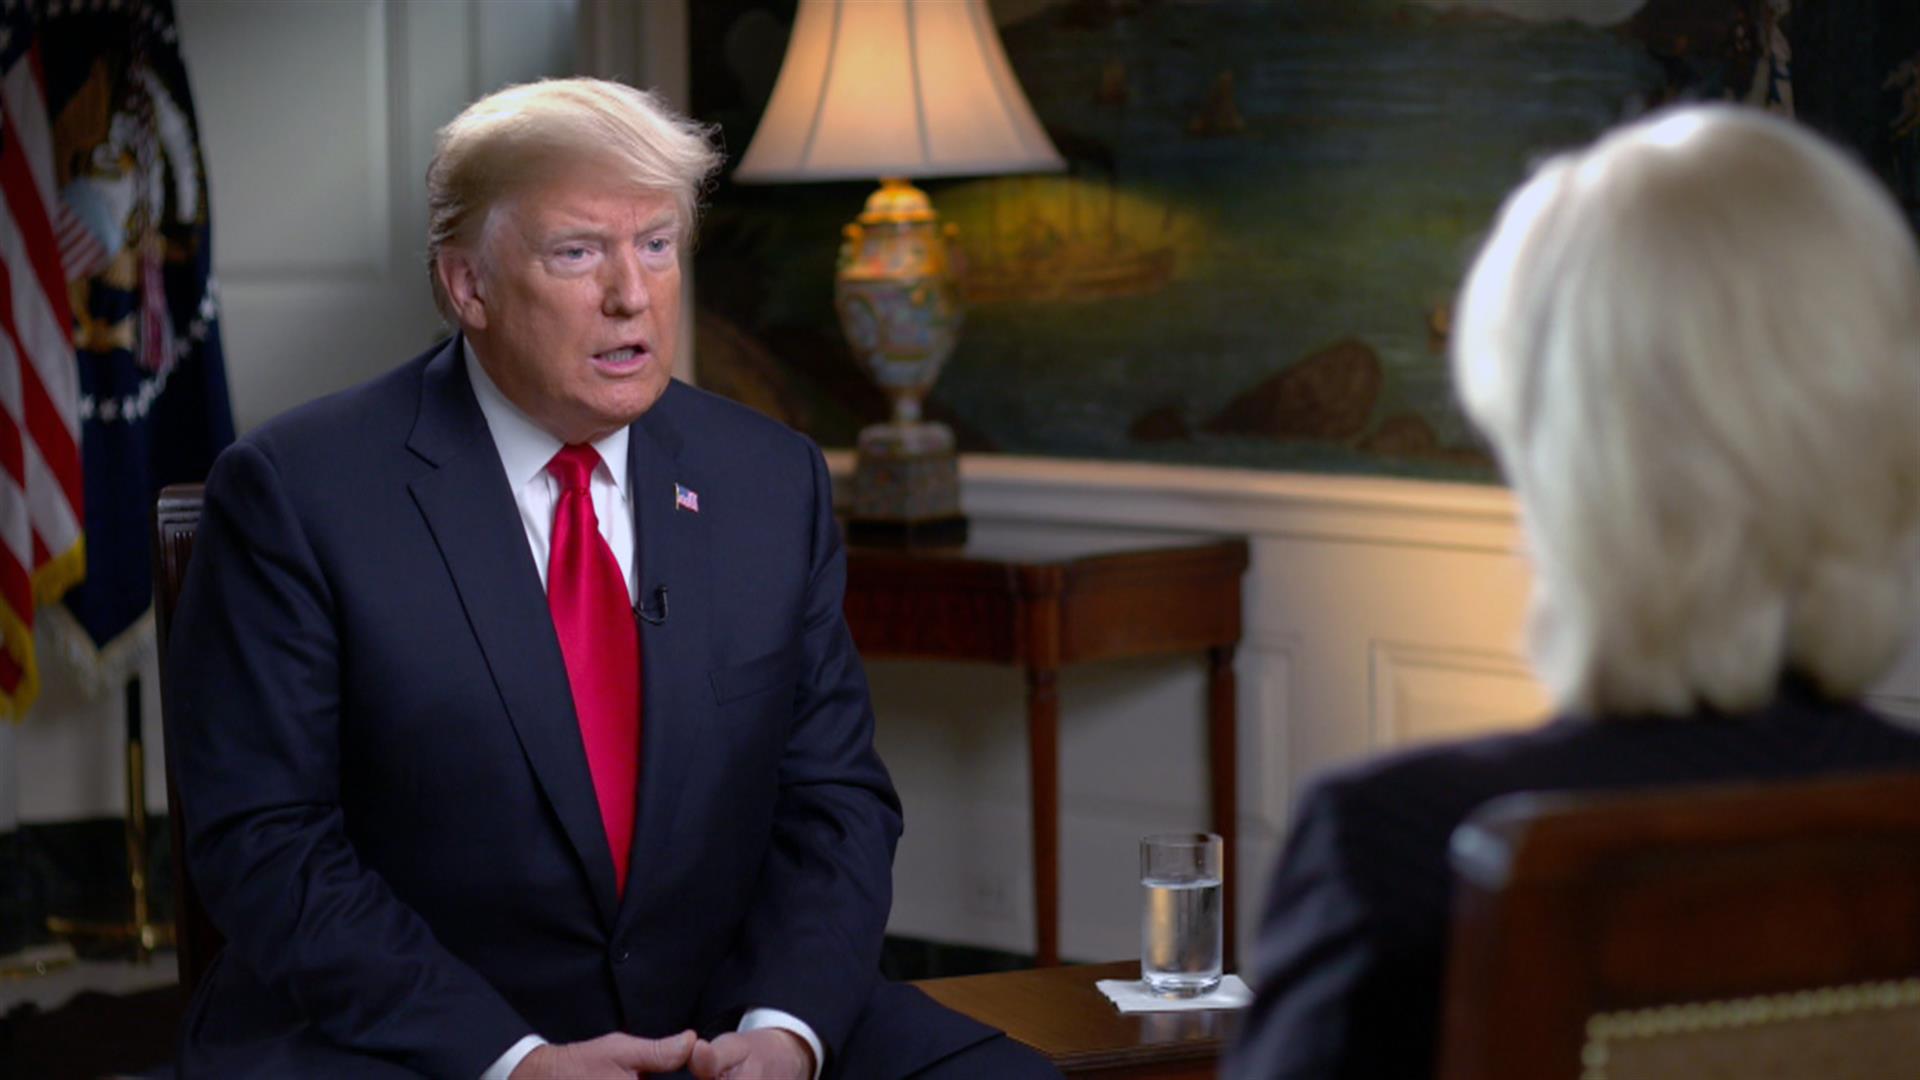
Consider if you want broad or narrow lighting. Most interviews are shot portrait style- where the talent is slightly turned from the camera, typically facing another person (actor or interviewer, etc.).
Broad lighting i(also known as downstage lighting) is when you position the key light on the camera side of the interviewee's primary vector. Narrow lighting (also known as short or upstage lighting) is when you place the key light on the other side of the primary vector.
Vocabulary (know these terms):
- 3200 K
- 5600 k
- Broad vs Narrow lighting (aka Downstage vs Upstage lighting)
- Broad light
- CTB gel
- CTO gel
- Ellipsoidal light
- Flood light
- Flourescent
- Fresnel
- Hard lighting
- HMI
- Kelvin (color temperature)
- LED
- Open faced light
- Softbox
- Soft lighting
- Spot light
